Carpet is not just about the surface you see; it’s also about the comfort and durability it provides beneath your feet. Whether you’re embarking on a new carpet installation project or looking to replace existing carpeting, understanding the significance of carpet padding and how to install it correctly is a fundamental step to ensure the longevity and quality of your flooring.
Enhancing Comfort and Longevity with Proper Carpet Padding Installation
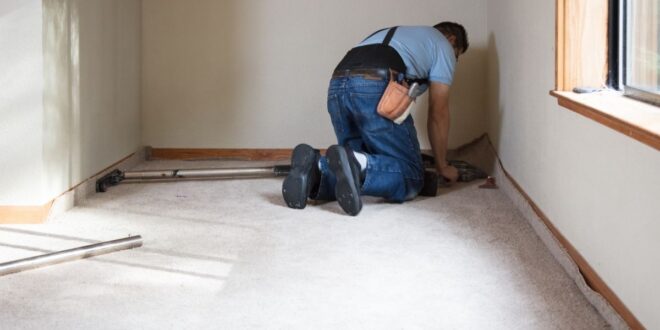
Carpet padding, often referred to as cushion or underlayment, is the unsung hero of your flooring and crucial component of a successful carpet installation. It’s a layer that often goes unnoticed, hidden beneath the lush carpet surface.
However, it plays a vital role in providing insulation, cushioning, and sound absorption. The proper installation of carpet padding is more than just a detail; it’s a critical component that can make or break your flooring investment.
Tools and Materials You’ll Need:
- Carpet Padding: Purchase high-quality padding that is appropriate for your carpet type and the room’s use.
- Measuring Tape: For measuring and cutting the padding accurately.
- Utility Knife: To cut the padding to the correct size.
- Duct Tape or Adhesive: Depending on the type of padding, you might need either duct tape or an adhesive recommended by the manufacturer.
- Staples or Adhesive (if needed): Some carpet padding may require staples or adhesive to secure it to the subfloor. Check the manufacturer’s instructions for your specific padding.
Steps for Installing Carpet Padding:
- Measure and Cut:
- Begin by measuring the room’s dimensions. Measure both the length and width to determine the amount of padding you’ll need. It’s important to be accurate.
- Unroll the carpet padding and use a utility knife to cut it to the required size. It should be cut to fit the dimensions of the room, allowing it to extend to the edges of the walls.
- Lay Out the Padding:
- Unroll the padding across the room, allowing it to overlap the walls by about an inch. This overlap ensures that the entire floor area is covered.
- Butt the edges of the padding pieces tightly together, ensuring that there are no overlaps or gaps between them. This will provide a smooth, even surface for your carpet.
- Secure Seams:
- If your room is large and requires multiple pieces of padding, secure the seams between the pieces. Use duct tape or an adhesive that is appropriate for your padding type.
- This step is essential to prevent the padding from shifting or separating over time.
- Trim Excess Padding:
- After securing the padding and ensuring it fits the room’s dimensions, use a utility knife to trim the excess padding that extends beyond the walls. Be precise in your cutting to achieve a snug fit.
- Staple or Adhere (if needed):
- Depending on the type of padding you have and the manufacturer’s recommendations, you may need to secure the padding to the subfloor. This is typically done using staples or adhesive.
- If stapling, use a staple gun to attach the padding to the subfloor. If using adhesive, follow the manufacturer’s instructions for proper application.
- Check for Wrinkles and Bumps:
- After securing the padding, walk across the entire surface to check for any wrinkles, bumps, or areas where the padding is not lying flat. It’s crucial to identify and address these issues to ensure a smooth, even surface for your carpet.
- Ready for Carpet Installation:
- With the padding correctly installed, your subfloor is now prepared for carpet installation. You can proceed to roll out the carpet over the padding and continue with the carpet installation process, as outlined in our previous guide.
Properly installed carpet padding is essential for the longevity and comfort of your carpet. It also acts as a sound and thermal insulator, enhancing the overall quality of your flooring. Take your time during this step to ensure the padding is correctly placed and secured for the best results in your carpet installation project.